

One of my favorite jewelry techniques to teach is wax carving, because it's relatively simple to do at home and you can get away without using too many tools to create handmade jewelry. Since we've been spending so much time at home like most everyone else right now, I've been teaching online classes from my kitchen table in basic wax carving lessons. It started as a way to encourage people to be creative with all of this time at home, but honestly it's always been something I've wanted to do. For the past 10 years, I've been teaching jewelry classes at many studios in NYC on techniques like wax carving, silversmithing, jewelry business & production and many other techniques. Since I had my son a bit over 2 years ago, I haven't had as much time to devote to teaching. Putting my classes online has always been a dream of mine, and I'm happy I finally have the time to do it! If you've dabbled in jewelry at all (or any craft, really), you know that the tools and materials can get expensive - quickly! It all adds up and there always seems to be something else you need. I'm a huge proponent in starting small and using as little tools as possible. Since I get asked this all the time, I decided to make my list of essential tools for wax carving and what you really need to get started. And if you're looking for some some tutorials, you can check out my wax carving classes that I teach from my kitchen table - and so can you!
Happy Creating!
Emilie
Essential Tools for Wax Carving & Jewelry Making
- Double Ended Wax File | This is probably the most basis and useful tool while carving wax. You can use it for everything from carving, shaping, texturing and even fine details.
- Jeweler's Saw Frame | I recommend a 4" deep frame that you'll use to cut your wax, and even make textures. You can also use the same saw frame when sawing & piercing through metal but with different blades.
- Spiral Wax Blades | Load these paper thin blades into your saw frame to cut through wax when starting a design. These don't work on metal, but are very aggressive and cut quickly through wax. You can also use metal blades to cut through wax, they'll work a bit slower but it'll get the job done.
You can actually make wax carving models to be cast into metal jewelry using just those 3 tools. In fact, you can totally just get away with using the file. But if you're really interested, here are some other essential tools that I recommend.
- Divider | Use this tool to scribe in measurements on your wax. I don't like the tools with needles on the end, they're more expensive and don't work great. Go for the cheaper ones with nice, pointed tips.
- Ruler | Any ruler you have lying around will do, but make sure it has a metric side. Jewelers use the metric system since it's universal, and honestly, once you get the hang of it it's much easier than the standard system.
- Needle Files | These are smaller files than your double ended wax file, and can be used to carve away, shape and texture your wax models. You can purchase individually, but I suggest getting a variety pack of shapes for lots of options. They're usually sold as a set of 5 or 6 (flat, half-round, round, triangle, rectangle, barrette).
- Utility Knife | These are always handy to have and can be used to cut soft & wire wax, scrape away wax to shape or texture pieces, or to heat up and add wax material for the additive technique or to bond pieces together.
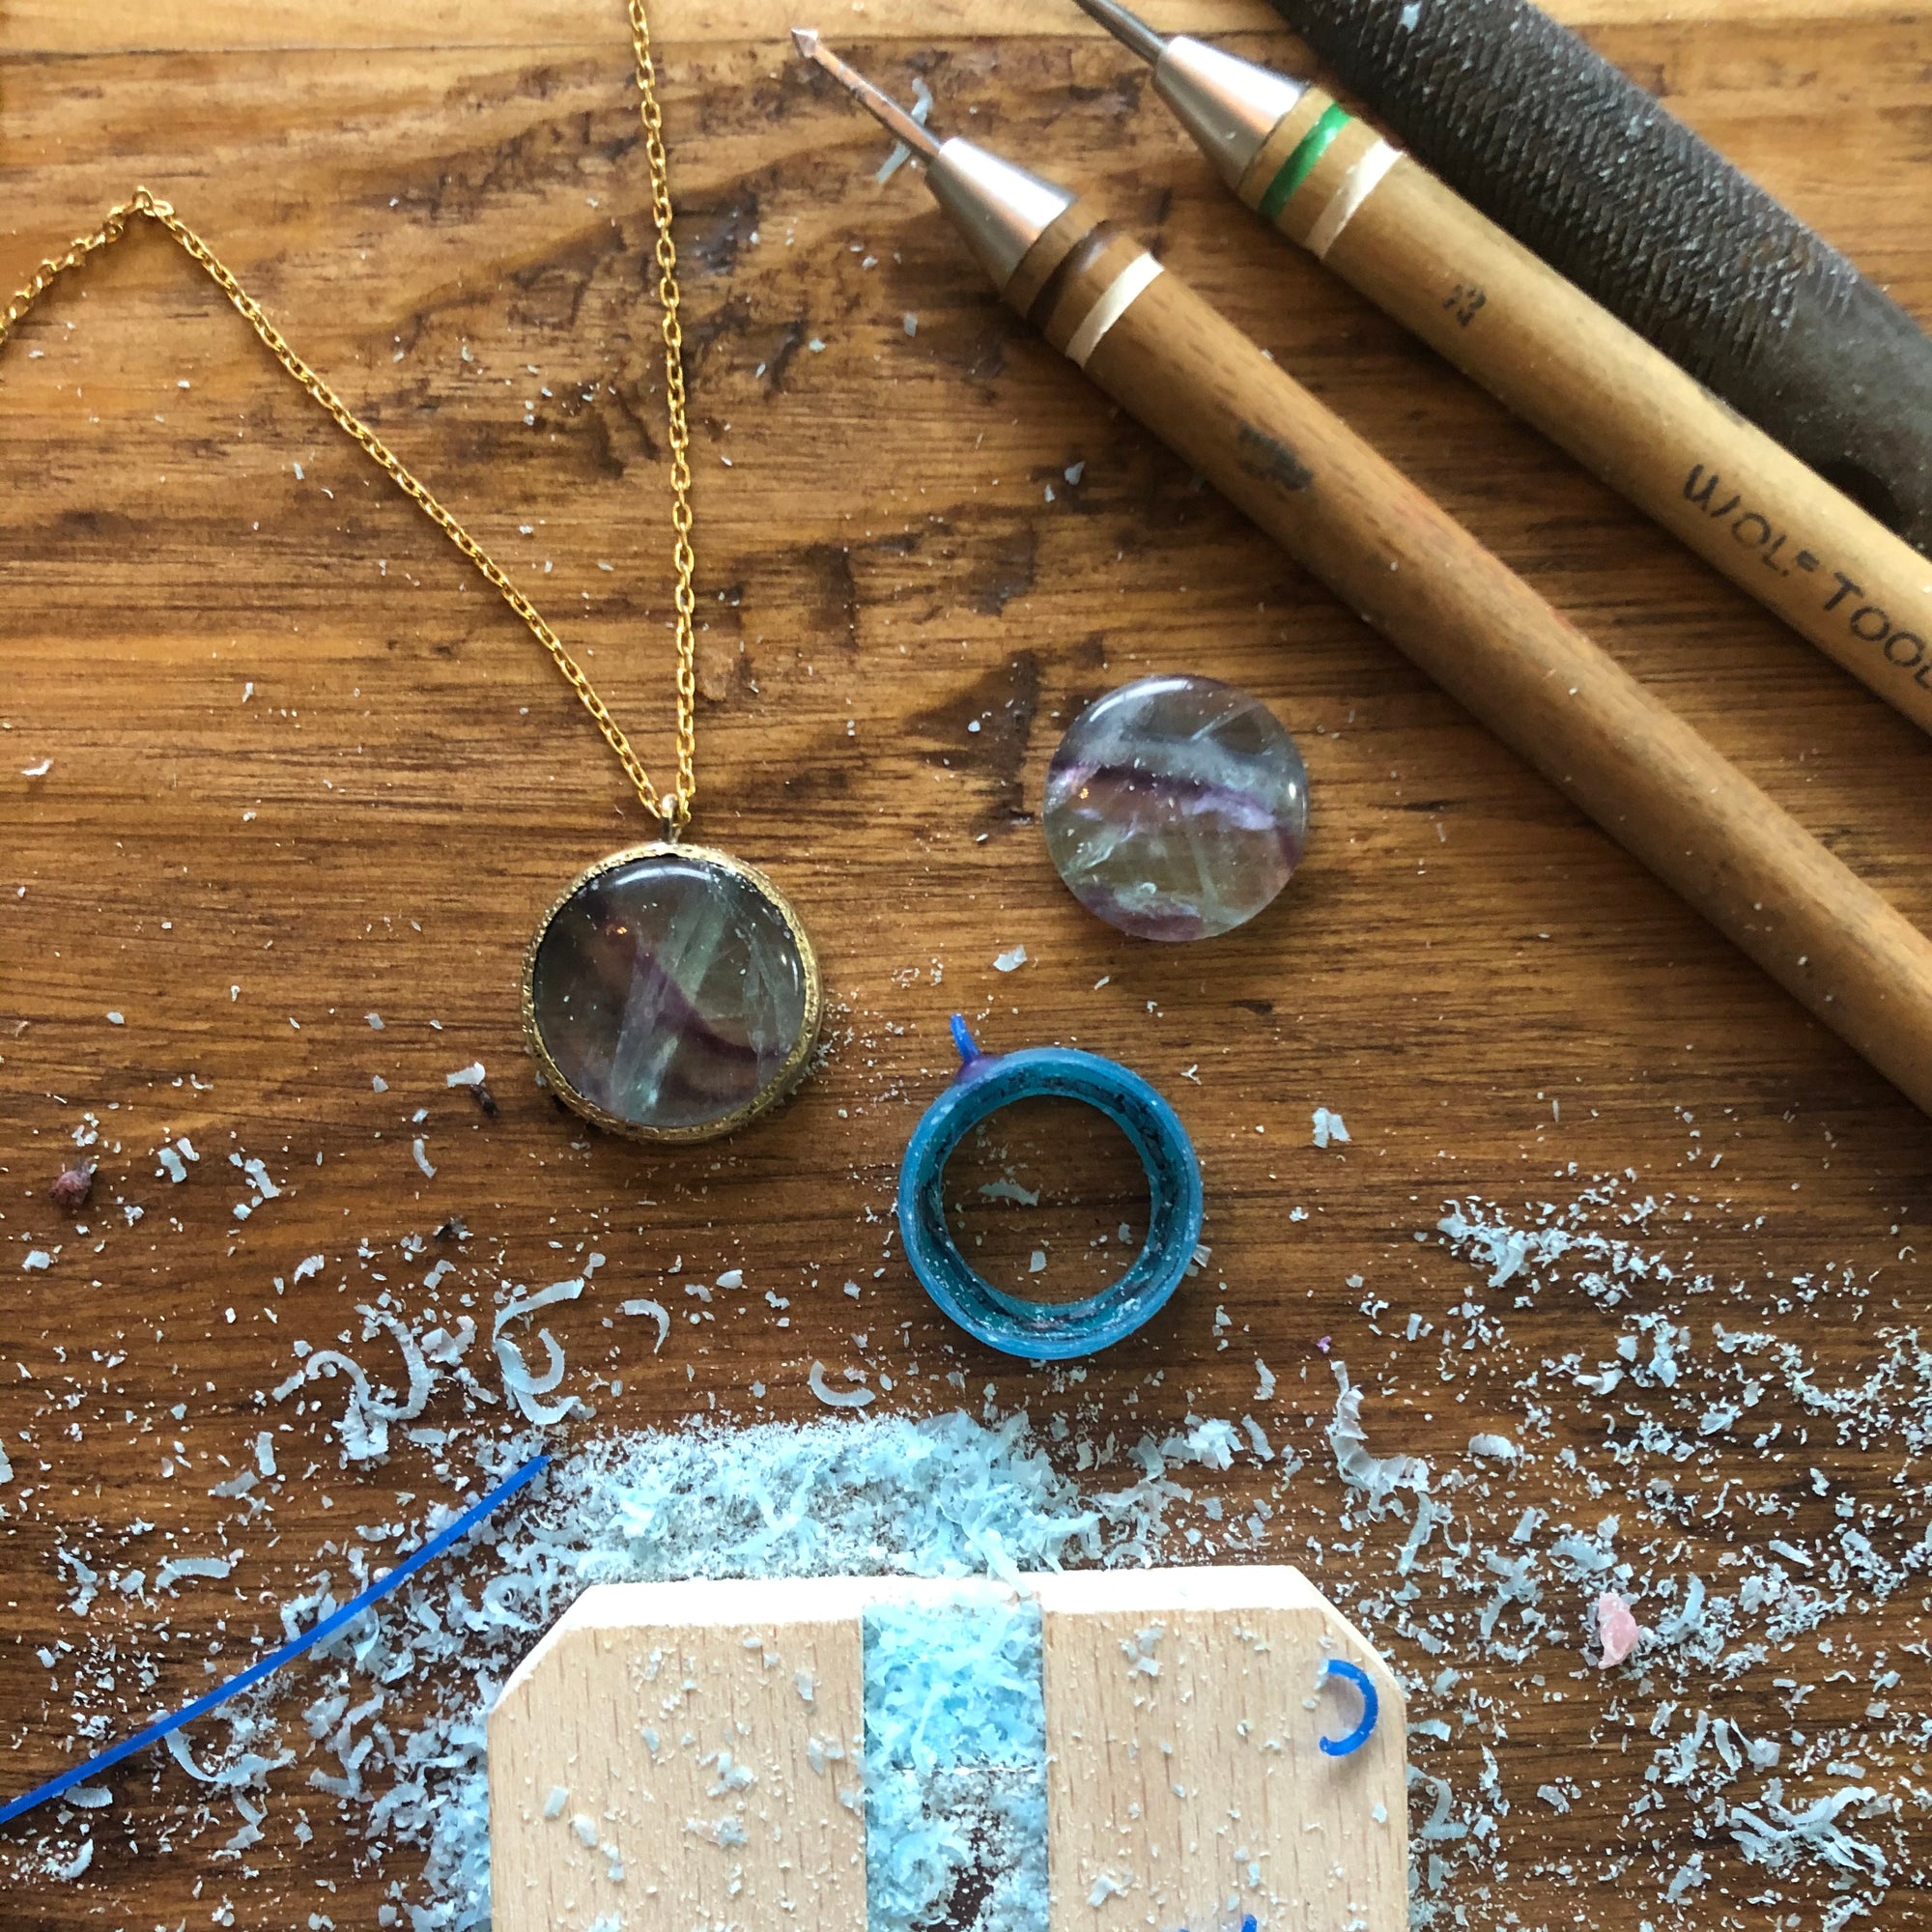
- Carving or Dental Tools | You read that right, dental tools. Like the same ones the dentist uses. In fact, many tools in the jewelry & dental industry are the same. Use these tools to smooth, carve and add fine details to your wax carvings. Some carving tools can be really pricey, like the Wolf Brand carving set, but if you're serious and can spend the money I highly recommend. They're amazing. You can also use dental tools to heat up to add wax using the additive technique or to bond pieces together.
- Wet / Dry Sandpaper - 220, 320, 400, 600 grits | You can use sandpaper for the final stages of finishing your wax to both get scratches out and soften your piece. Start with a coarse grit, 220, and make your way down to the fine grit, 600. You can make sanding sticks by adhering sandpaper to a paint stirrer or wrapping around your files, or simply tearing off a piece and making circular motions.
- Wax Ring Sizer | This is such a handy tool have if you plan on carving rings, but definitely not necessary. You insert the wax ring sizer to the inside of a ring blank and turn a few times to shave out the inside. Be sure to evenly take away material from both sides. Carve away until you're at the correct size on the mandrel.
- Bench Pin | This rectangular piece of wood hangs on your work table to use as your main work surface while making jewelry, although you can definitely get away without one of these. I love this bench pin which is inexpensive and easily clamps on your table, and you can take it off when it's not in use. Great for working at a makeshift bench!